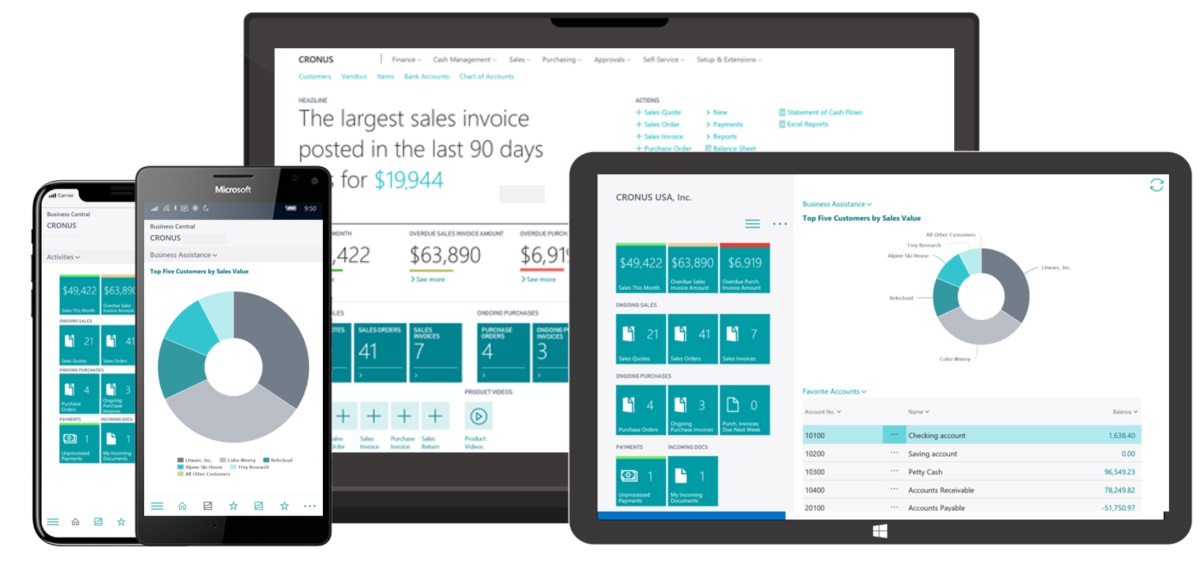
Are you ready to establish a new company within Microsoft Dynamics 365 Business Central? This powerful platform offers robust features and functionalities to streamline your business operations. In this guide, we’ll walk you through the process of creating a new company in Business Central, ensuring a smooth and efficient setup for your organization’s success.
Step 1: Access Business Central
To begin, log in to your Microsoft Dynamics 365 Business Central account with your credentials. Once logged in, navigate to the Administration module to access the setup options for creating a new company.
Step 2: Setup Wizard
Within the Administration module, locate the Setup & Extensions section and click on “Company Setup.” This will launch the Setup Wizard, which will guide you through the process of creating your new company.
Step 3: Company Information
In the Setup Wizard, you’ll be prompted to enter essential information about your new company, including its name, address, currency, language, and fiscal year settings. Ensure that all details are accurate and reflect your organization’s requirements.
Step 4: Chart of Accounts
Next, you’ll need to set up your company’s Chart of Accounts. This includes defining your general ledger accounts, such as assets, liabilities, equity, revenue, and expenses. You can choose to set up a new Chart of Accounts from scratch or import an existing one from a template.
Step 5: Configure Basic Settings
Once your company information and Chart of Accounts are configured, proceed to set up other basic settings, such as posting groups, payment terms, shipping methods, and document number series. These settings will ensure that your new company operates efficiently within Business Central.
Step 6: Additional Setup Options
Depending on your business needs, you may need to configure additional setup options, such as inventory management, sales and purchasing settings, tax setup, and user permissions. Take the time to review and customize these settings according to your organization’s requirements.
Step 7: Review and Confirm
Before finalizing the setup process, carefully review all the information you’ve entered to ensure accuracy. Once you’re satisfied with the setup, click “Finish” to create your new company in Microsoft Dynamics 365 Business Central.
Step 8: Start Using Your New Company
Congratulations! You’ve successfully created a new company in Business Central. Now, you can start utilizing the platform’s powerful features to manage your business operations effectively. Be sure to explore additional modules and functionalities to further optimize your company’s performance.
In conclusion, setting up a new company in Microsoft Dynamics 365 Business Central is a straightforward process that can be completed with ease using the Setup Wizard and configuration options available within the platform. By following the steps outlined in this guide, you’ll be well on your way to harnessing the full potential of Business Central for your organization’s success.

